Professional Interior Painting Services in Boston, MA
Boston interior painting projects move through three main phases. Surface prep, primer, and topcoat. Each phase requires attention to the wall substrate, the room conditions, and the products selected for the job. Boston homes range from 1850s brownstones with plaster on lath to modern condos with smooth drywall, and each substrate behaves differently under paint. We assess the substrate before quoting any project to plan the proper prep sequence.
Federal Renovation Repair and Painting rule requires lead-safe practices on any home built before 1978. Most Boston housing predates this cutoff. Our crew holds EPA Lead-Safe Certified status. Pre-1978 prep involves plastic containment of work areas, HEPA-vacuum cleanup, and proper disposal of paint chips and dust. We document compliance for the homeowner so the paperwork is in order for resale or refinance.
Boston condo associations sometimes restrict color selection on walls that face common areas, hallways, or shared spaces. Some buildings require neutral colors on entry walls visible to neighbors. We help review association rules during the planning phase and coordinate any required board approvals before material orders go out. This avoids project delays from paperwork that takes weeks to resolve.
Surface Preparation in Boston
Surface prep for Boston brownstone interiors starts with assessing plaster condition. Settled plaster shows hairline cracks at corners, larger cracks along seams, and sometimes bulging panels where lath has separated from framing. We patch hairline cracks with vinyl spackling. Larger cracks need plaster-compatible repair compound. Bulging panels require lath reinforcement or replacement before any patch goes on.
Original Boston brownstone trim and crown molding often has 5 to 10 coats of paint accumulated over a century. The thick paint builds up at corners and edges, losing the detail of the original profile. We scrape excess paint buildup back to a sound base, sand smooth, prime with stain-blocking primer, and topcoat with ProClassic from Sherwin-Williams. The trim regains some of its original detail.
Lead-safe prep in pre-1978 Boston homes involves specific procedures. Plastic sheeting seals off the work area from adjacent rooms. Drop cloths protect floors. HEPA vacuums collect dust during sanding. Paint chips collect in sealed bags for disposal. Workers wear respirators and disposable coveralls. The setup adds time to the project but is required by federal RRP rules on pre-1978 homes.
Painting Process in Boston
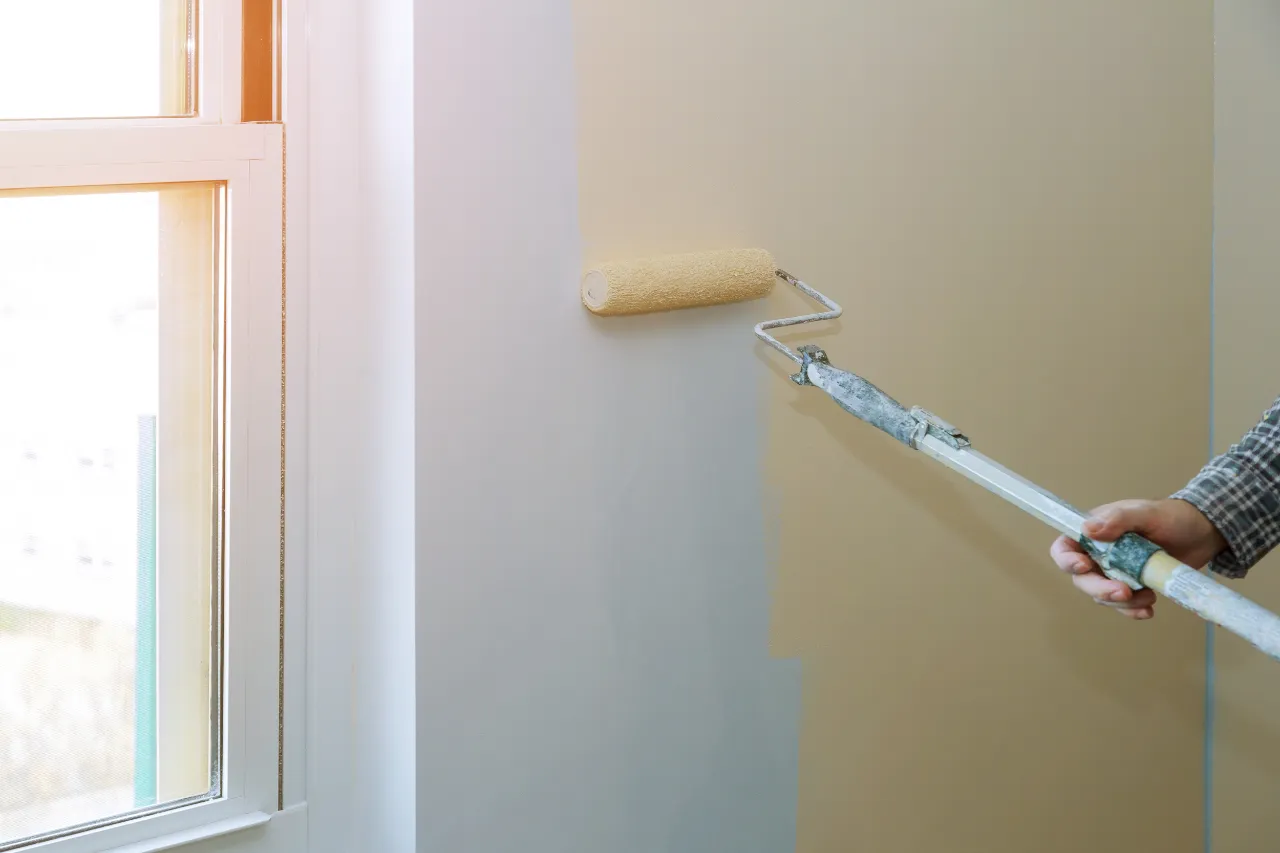
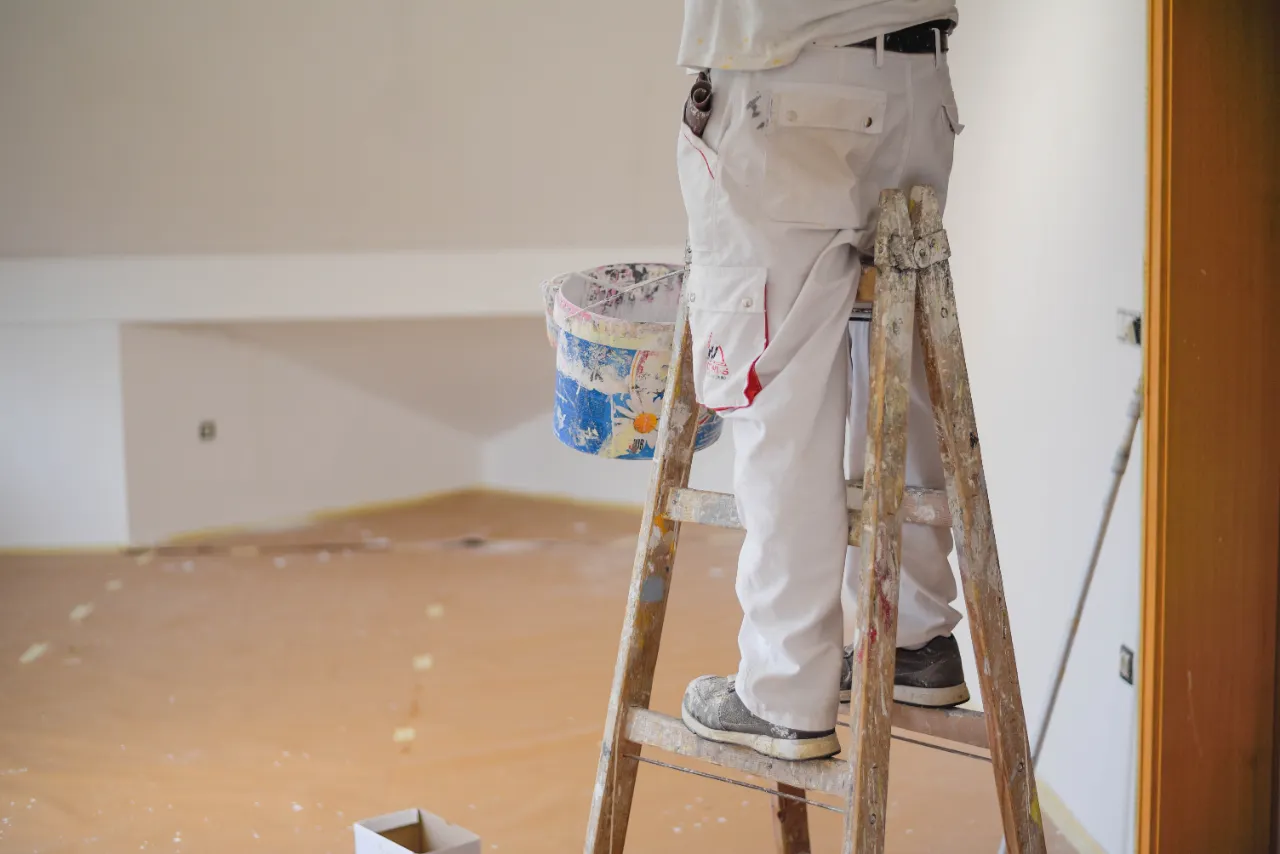
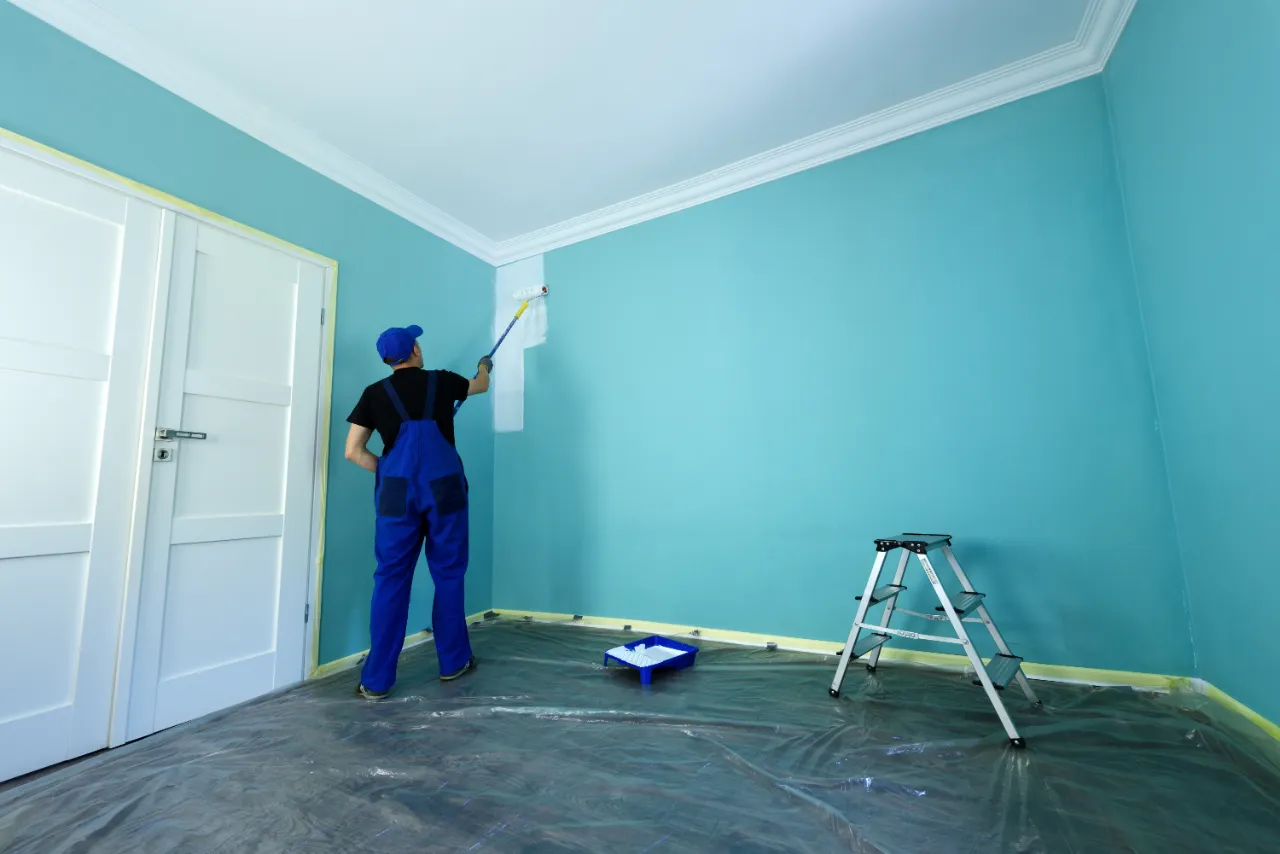
Paint application in Boston interiors follows a standard sequence. Ceilings first to avoid drip marks on finished walls. Walls second using a roller for fields and brush for cut-in lines at corners. Trim last for the detail work around moldings, doors, and baseboards. Each phase gets proper dry time between coats. Two coats are standard. Three coats are common in old Boston homes with dark previous colors.
Color selection in Boston homes considers light exposure, room function, and association rules. North-facing brownstone rooms get cooler natural light and benefit from warmer paint tones. South-facing rooms tolerate cooler colors. We provide Sherwin-Williams color decks during walkthrough and recommend two or three options per room based on the lighting conditions and the owner's design direction.
Primer selection matters more than topcoat in Boston interiors. Plaster substrate needs alkali-resistant primer to prevent paint failure from the lime in the plaster. Stained walls need stain-blocking primer to keep nicotine, water marks, or smoke damage from bleeding through the topcoat. Bare drywall needs PVA primer for proper bond. We select primer per substrate condition rather than using one product everywhere.
Why Interior Paint Quality Matters in Boston
Boston interior painting quality depends on surface prep done right. Plaster cracks that were not properly patched come back through the topcoat within months. Trim that was not properly cleaned shows brush marks and adhesion failures. Drywall that was not properly primed shows roller marks and color variations. We spend more time on prep than on application because prep determines how long the finish lasts.
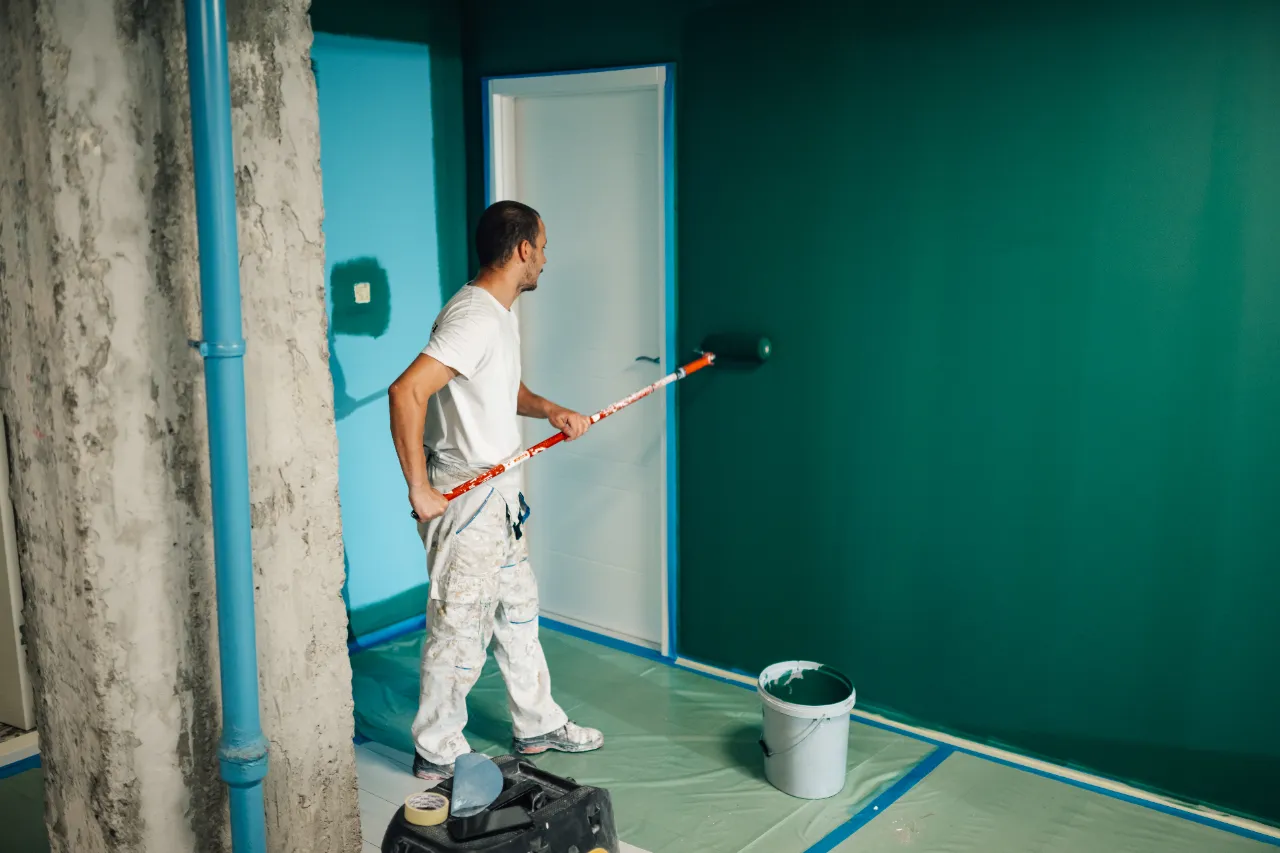
Sherwin-Williams products handle Boston interior conditions well when paired with proper primer. SuperPaint resists dirt and washes clean. Cashmere has a smooth finish that hides minor wall imperfections. Emerald has lifetime warranty and best stain resistance. ProClassic on trim gives a tough enamel finish that handles daily abuse. We select the product tier based on room use and budget.
Bad Boston interior painting shows its problems within a year. Plaster cracks come back through cheap patches. Trim paint peels because the substrate was not properly cleaned. Wall colors fade where prep skipped over old stains. Drips and roller marks show because application was rushed. We avoid these failures by working the standard sequence properly without skipping the boring prep steps.